To calculate lighting requirements, work in three moves: pick a target illuminance for the room’s use, multiply it by the floor area to get the total lumens the room needs, then divide that total by the lumens each fixture delivers. Add a maintenance allowance, round up to a workable layout, and have a lighting designer confirm the result. This guide gives the definitions behind each unit, an industry reference table by space type, the formula in full, and a complete worked example on a 120 m² open office.
Lumens and Lux: What Each Unit Measures
What a lumen measures
A lumen (lm) is a unit of luminous flux: the total quantity of light a source emits in all directions. It is a property of the lamp or luminaire, printed on the datasheet or the lamp carton. A 3,000 lm fixture emits roughly twice the light of a 1,500 lm one, and that ratio drives how many fixtures a room needs.
What a lux measures
A lux (lx) is a unit of illuminance: the quantity of light landing on a surface, per unit of area, so it is a property of the room rather than the fixture. The same fixture produces a high lux reading in a small dark room and a low one in a large bright one, which is why a fixture count can never be quoted without the area and the target level.
Deriving the conversion: 1 lx = 1 lm/m²
Illuminance is defined as luminous flux divided by area, so one lux is exactly one lumen per square metre. If a fixture delivers 3,000 lm across a surface of 10 m², that surface receives 3,000 ÷ 10 = 300 lm per m², which is 300 lx. Written as a formula: lx = lm ÷ m², and rearranged, lm = lx × m². Two caveats follow. Light weakens with distance, so the number describes an averaged result over the whole area rather than one bright point on the floor. And the light has to be shared across that area: a fixture tucked behind a bulkhead lights the bulkhead.
Industry Reference Ranges for Target Illuminance
| Space | Typical illuminance range | Notes |
|---|---|---|
| Corridors and circulation | 100–150 lx | Dim in the evening; keep transitions between areas gradual |
| Stairwells | 100–150 lx | Even vertical surfaces matter more than a bright floor patch |
| Storage and back of house | 100–200 lx | Task benches sit at the top of the range |
| Guest room, ambient | 100–200 lx | Layer with local task and accent light |
| Guest room desk, bedside reading | 300 lx locally | Local light, not whole-room light |
| Open-plan office, general | 300–500 lx | 500 lx where screens and paper alternate |
| Meeting room | 300–500 lx | Dimmable, with a separate presentation scene |
| Restaurant dining | 100–200 lx | Warm and dimmable, with accent light on tables |
| Reception and lobby | 200–300 lx | Vertical illuminance drives perceived brightness |
| Retail sales floor | 300–500 lx | Feature displays commonly 750–1,000 lx |
| Commercial bathroom | 150–300 lx | Mirror area at the top of the range |
These are industry practice ranges, not regulatory limits. Local codes, the applicable standard and the client’s own brief take precedence, and the final figure should be confirmed by a lighting designer. The values describe maintained illuminance — the level expected after the installation has been in service — which is why the next section adds an allowance.
The Fixture-Count Formula, Step by Step
- Measure the floor area in square metres. Use the net internal area, and split an L-shaped or partitioned space into rectangles instead of averaging it into a single number.
- Fix the target illuminance for each area, from the table above or from the project specification.
- Convert to total lumens: area × target illuminance (lm = lx × m²).
- Read the lumens per fixture from the datasheet for the complete luminaire, not the bare lamp inside it.
- Divide: total lumens ÷ lumens per fixture = number of fixtures. Round up to a whole fixture.
- Apply a maintenance factor by dividing by roughly 0.8, then round up again.
- Lay the fixtures out and check spacing against ceiling height before fixing the count.
In one line: room area × target lux ÷ lumens per fixture = number of fixtures, then add roughly a quarter for loss and ageing. That is how to calculate lighting requirements for a single room, and it needs only the floor area, the target level and one datasheet figure — a first estimate fits on a single sheet of paper.
Worked Example: A 120 m² Open Office
The space is 12 m × 10 m, so 120 m², with a finished ceiling at 2.8 m. The brief asks for general office lighting with screen and paper work alternating through the day, so the target sits mid-range rather than at the bottom.
- Area: 120 m².
- Target illuminance: 300 lx. If the brief calls for task-level work at desks throughout, use 500 lx instead and the count rises accordingly.
- Total lumens: 120 × 300 = 36,000 lm.
- Lumens per fixture: your own datasheet figure; this example uses an illustrative 3,000 lm luminaire.
- Fixture count: 36,000 ÷ 3,000 = 12, and 12 ÷ 0.8 = 15 with the maintenance factor.
| Step | Calculation | Result |
|---|---|---|
| Floor area | 12 m × 10 m | 120 m² |
| Target illuminance | Mid-range for general office work | 300 lx |
| Total lumens | 120 × 300 | 36,000 lm |
| Lumens per fixture | Illustrative datasheet figure | 3,000 lm |
| Fixture count | 36,000 ÷ 3,000 | 12 |
| With maintenance factor | 12 ÷ 0.8 | 15 |
| Density check | 120 ÷ 15 | 8 m² per fixture |
Fifteen fixtures over 120 m² is one fixture per 8 m², which on a 12 m × 10 m ceiling falls into a rough 5 × 3 grid with about 2.4 m by 3.3 m spacing. A sensitivity check is worth running: the same room on 4,000 lm fixtures would need 9 units before the allowance and 12 after it. Fewer, brighter fixtures mean fewer fixing points and longer gaps between them — a uniformity question rather than a brightness question, which is exactly what the layout step catches.
Adding a Maintenance Factor and Loss Allowance
Published or specified illuminance is normally a maintained value, so the fixture count has to cover the light that will be lost over time. Four losses drive the allowance: dust settling on diffusers and lamps, lumen depreciation as LEDs age, dirt load in the room itself, and voltage variation on site. Dividing by 0.8, a 25% margin, suits clean interiors with a routine cleaning cycle. Dividing by 0.7, close to 40%, suits kitchens, workshops, loading areas and spaces where cleaning is infrequent or the atmosphere is dusty. Two cautions. The allowance is not a way to compensate for a target level chosen badly — if the brief says 500 lx, do not plan 400 lx and hide the gap in the margin. And dimming does not remove the need for the allowance; the calculation is based on full output even when the room spends most of its day dimmed.
How to Read the Lumen Figure on a Datasheet
The number you divide by should be the delivered lumens of the complete fixture, and datasheets do not always say so plainly. Check whether the figure describes a bare lamp or a finished luminaire with its diffuser and housing in place, since a diffuser can absorb a noticeable share of the output. Check whether it is an initial figure measured when new or a maintained figure that already accounts for depreciation, and do not apply the maintenance allowance twice. For fixtures with an E27 base, the lumens come from the lamp rather than the fixture, so the count must follow the lamp you intend to specify and the number of bases per fixture. Finally, record the colour temperature and system wattage alongside the lumen figure: colour temperature shifts efficacy slightly, and the wattage total is what you will later check against circuit capacity.
Four Checks After the Calculation
The arithmetic gives you a number, not yet a lighting design. Four checks close the gap.
Uniformity and spacing. Compare the spacing between fixtures with the height of the ceiling above the working plane. Wide spacing under a high ceiling produces pools of light and dark bands between them, even when the average illuminance is correct.
Glare and shielding. Look at the fixture from where people will actually stand and sit. A recessed fixture in a low corridor and a bright diffuser at seated eye level in a restaurant are both glare problems, and both are solved by luminaire choice or mounting detail, not by the count.
Zoning and controls. Split the total into circuits that match how the space is used, so one area is not fully lit at midnight to keep another lit. This is where dimmable and colour-adjustable fixtures earn their place.
Load and physical fit. Add the system wattage of all fixtures and check it against the circuit capacity, then confirm each position clears structure, ductwork, sprinklers and speakers on the reflected ceiling plan.
Next Step
Once the count is settled, the remaining decision is which fixture platform suits the ceiling, the mounting method and the way the room is used. Our ceiling lights are built for surface, recessed and suspended mounting and can be made to custom sizes where a ceiling grid or a shallow void demands something non-standard, and their E27 bases let the client choose the lamp and its lumen output locally.
Send the room schedule with the area and the target illuminance for each space, and we will confirm dimensions, the fixture count that fits the grid, and a delivery date. There is no minimum order, so a single-room trial is a reasonable starting point for a larger project, and the standard lead time is 15–30 days from the point the specification is locked.
Reach us through the contact form, or on WhatsApp and WeChat at +86 180 2480 4499.
About the author : hy-tanya@hotmail.com

Related posts
Popular products
-
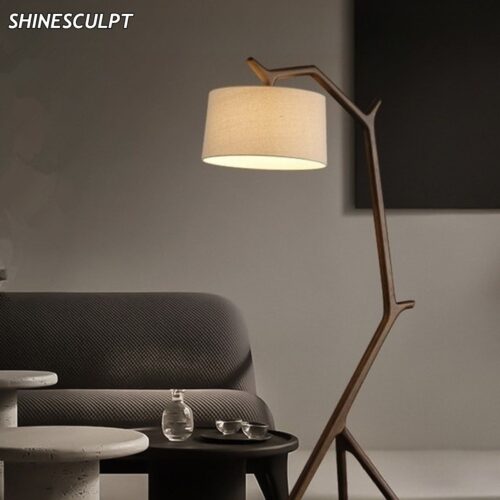 FL-013 Solid Wood Floor Lamp
Price range: $465.38 through $589.62
-
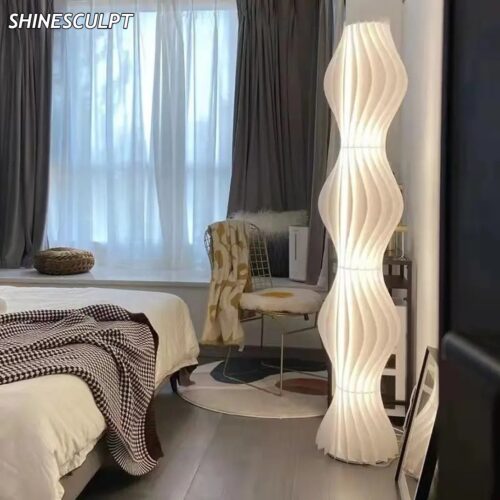 FL-012 Grass Skirt Floor Lamp
Price range: $34.62 through $62.31
-
 FL-011 Wabi-Sabi Floor Lamp
Price range: $500.00 through $576.92
-
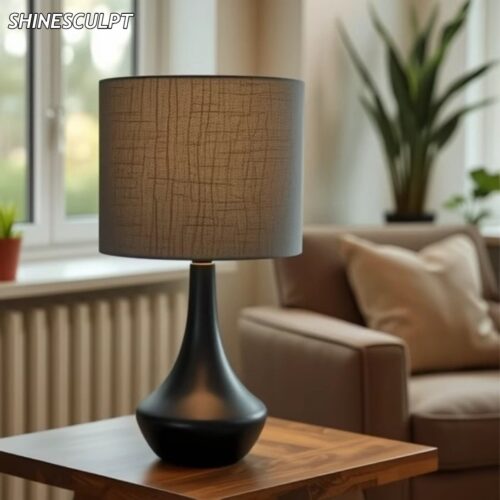 TL-006 Fabric Shade Bedside Lamp
$95.00